13 DIY Halloween Decorations You Can Make in One Evening
13 DIY Halloween decorations you can finish in one evening, from cheesecloth ghosts to a floating candle hoop, using paper, fabric, and things you already own.

· 11 min read
You don't need a craft room or a full weekend to make Halloween decor that looks good. Most of these 13 DIY Halloween decorations take under an hour, use cheap materials like black paper, cheesecloth, and old jars, and look better in dim light than they do in the daytime. Halloween decor is mostly seen at night, and in dim light rough homemade pieces with some texture and a bit of glow look better than shiny store-bought props.
Key Takeaways
- Dim light hides flaws. Rough edges disappear after dark, so don't fuss over perfection.
- Black paper does a lot of work. Cut shapes, silhouettes, and bats cost almost nothing and look sharp.
- Use LED lights inside anything flammable. Paper, cloth, and tissue should never sit near a real flame.
- Hot glue and spray paint need care. Protect your hands and surfaces, and paint outdoors or with good ventilation.
- Pick two or three projects, not thirteen. A few made well and grouped together look better than a house full of crafts.
- Thrifted and recycled items make the best base. Old jars, candlesticks, and frames cost less and look more authentic.
- Make once, store flat. Most of these pack away easily and last for next year.
13 DIY Halloween Decorations Worth Making
Idea 1: Stiffen Cheesecloth Into Floating Ghosts
Cheesecloth draped over a form and stiffened looks like a ghost that kept its shape after the sheet came off. Use a balloon, a tall jar, or a rolled-up towel as the form. Soak cheesecloth in fabric stiffener or liquid starch, drape it over the form, and let it dry fully.
Once it's hard, pull out the form and hang the ghost from a branch with clear thread. The torn, uneven edges are what make it look good, so don't trim them straight. A battery tea light placed under a jar-based ghost makes it glow from inside.
Idea 2: Paint Pumpkins Matte Black With a Gold Stem
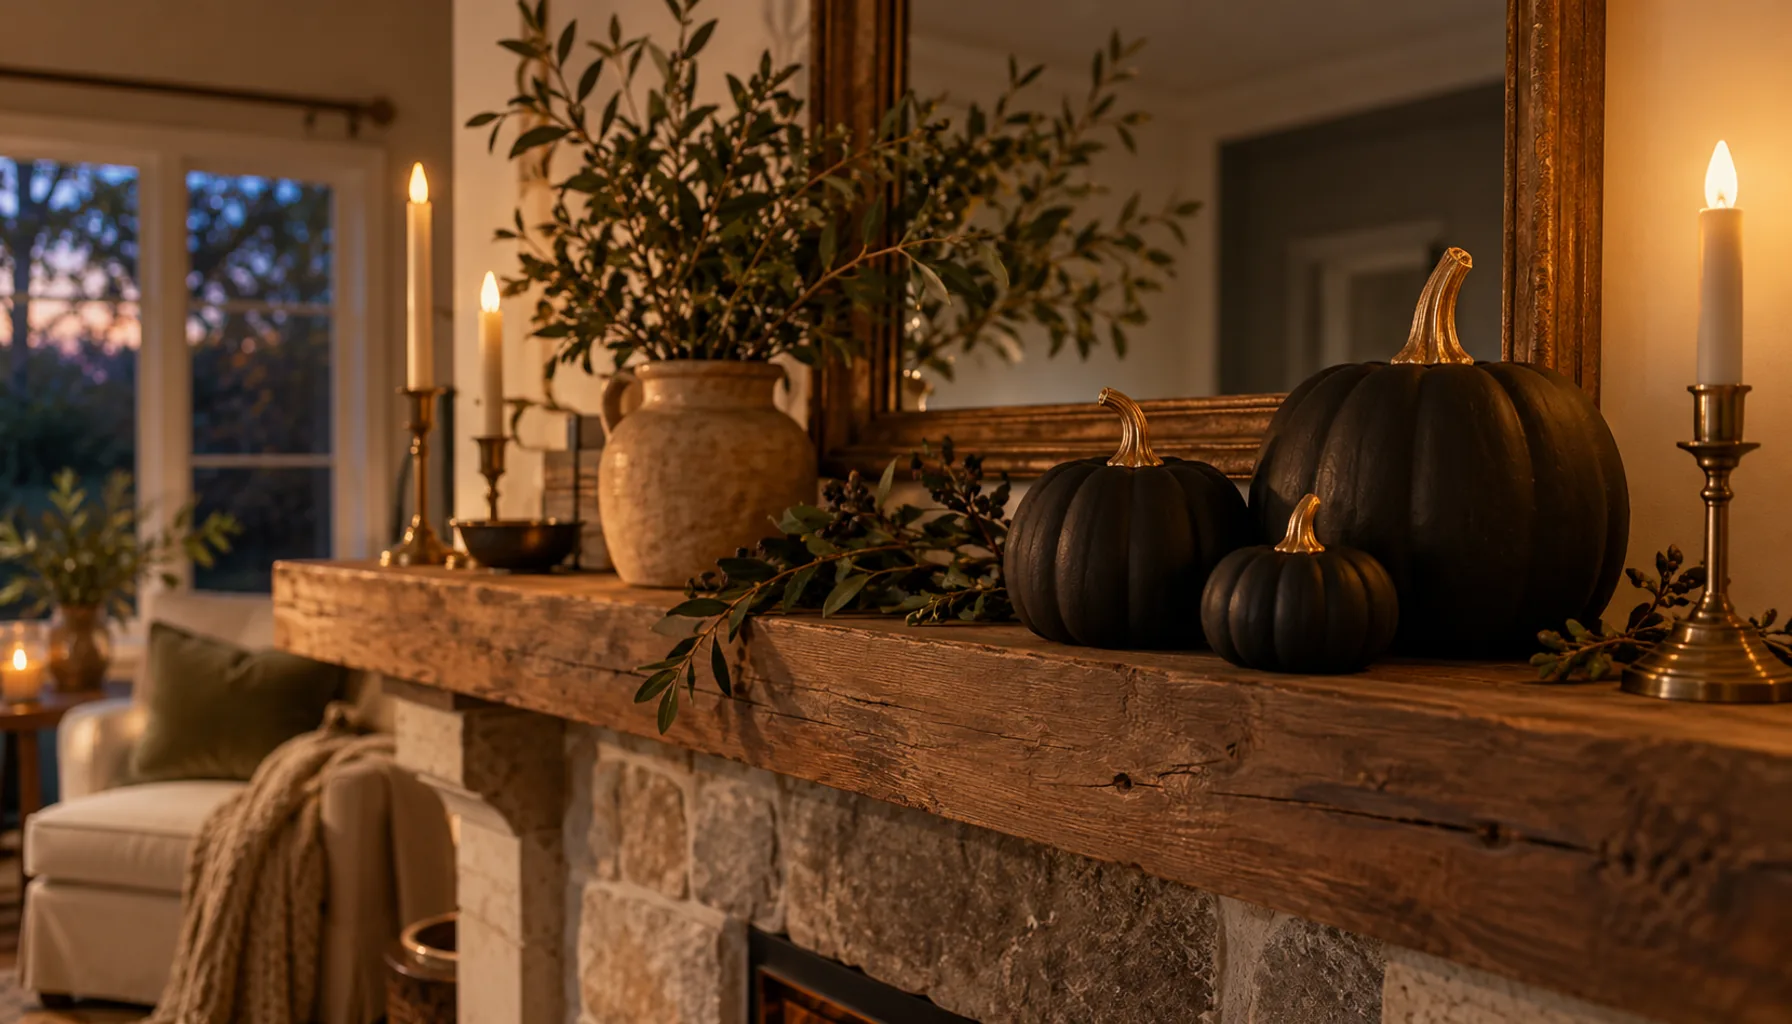
Painted pumpkins last far longer than carved ones, and a flat black finish with a metallic gold stem looks more expensive than orange. Use real or foam pumpkins. Wipe real ones dry, apply a coat of matte black craft paint or spray paint, and let it dry before adding a second coat.
Dab the stem with gold paint or a gold paint pen. Group three in different sizes on a mantel or entry table. If you're using spray paint, do it outdoors on newspaper, and keep it away from open flames. Our guide to paint tricks that change a room covers how thin coats avoid drips on curved surfaces.
Idea 3: Turn Old Jars Into Tissue-Paper Luminaries
Take clean jars, brush on a thin layer of decoupage glue, and press on torn pieces of black, gray, and orange tissue paper. Smooth out the wrinkles, add a second thin coat of glue on top, and let the jars dry.
Drop an LED tea light in each one. The glow comes through the tissue in uneven patches, which looks like old stained glass. Cluster them on stairs or a windowsill in odd numbers. Never use a real candle inside tissue-covered glass, since the paper can catch.
Idea 4: String a Bat Garland From Black Cardstock
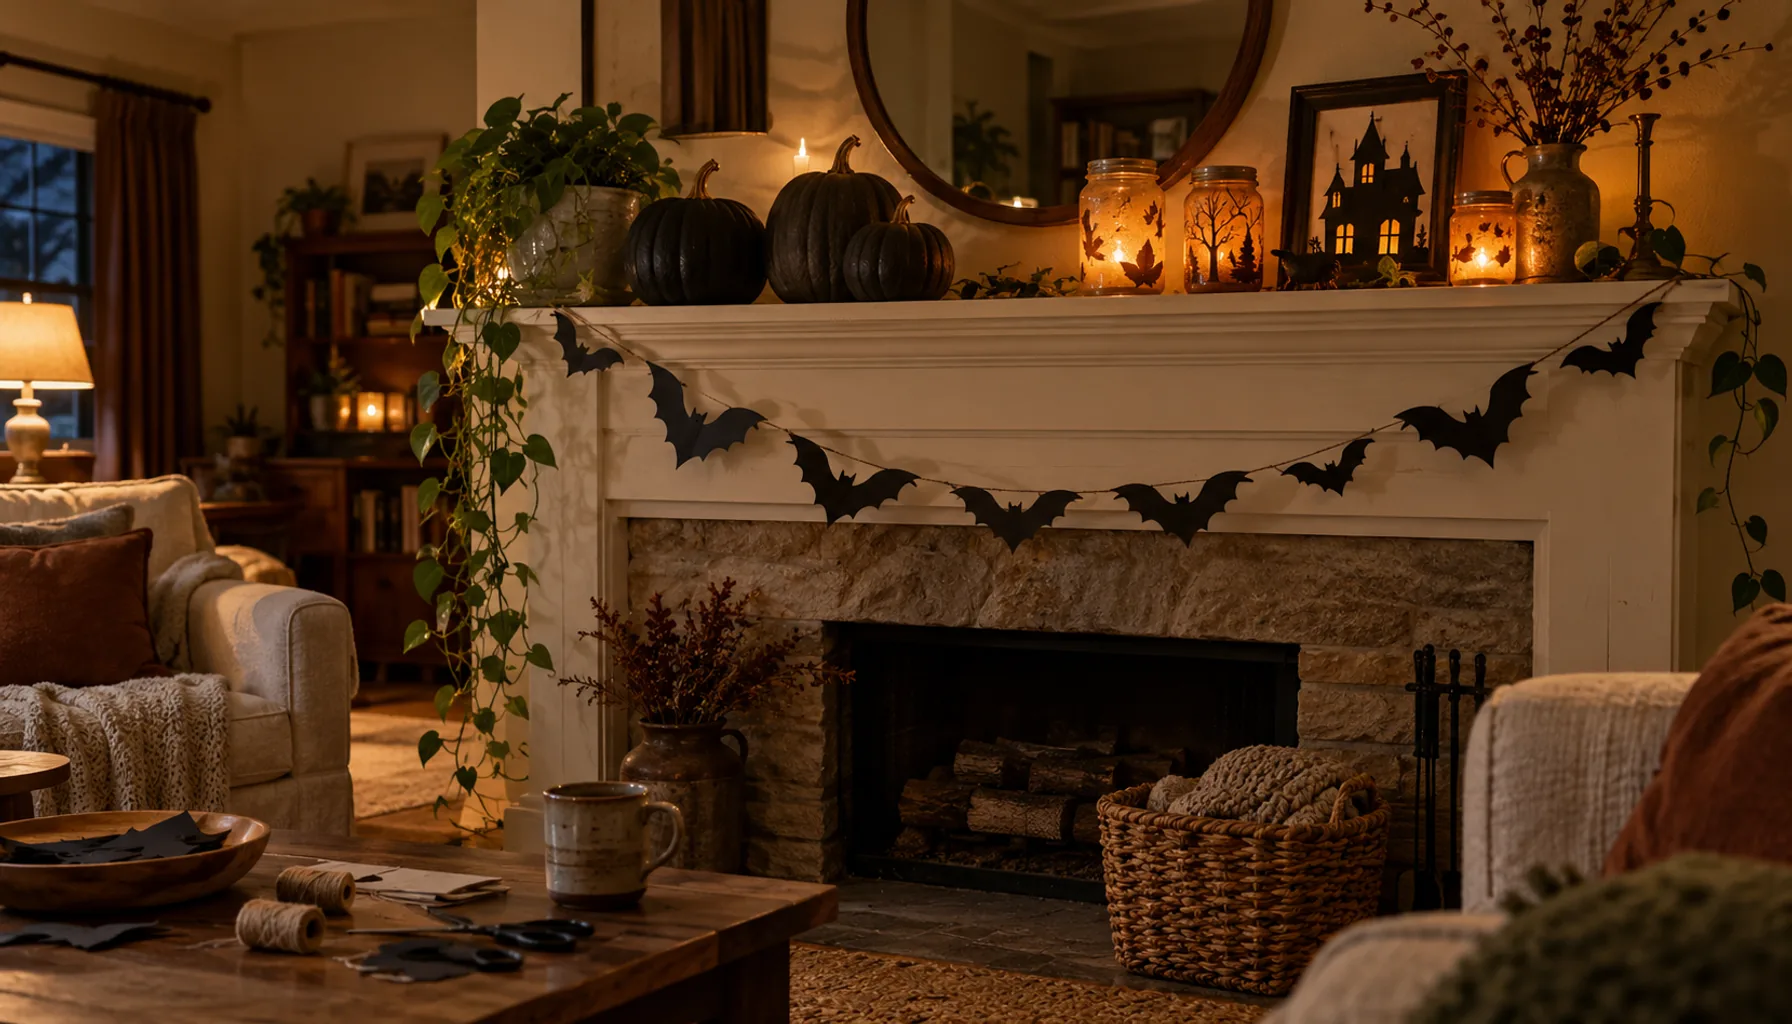
Draw one bat template on cardboard, trace it onto black cardstock, and cut out a dozen. Fold each along the center so the wings tilt up slightly, and glue them to a length of black twine.
The folding is what separates a nice garland from a flat one, because the wings catch light and cast small shadows. Drape it across a mantel, a doorway, or a bookshelf. Use two sizes of bat for a more natural look, and space them unevenly along the twine.
Idea 5: Make Dripping-Wax Candlesticks With Hot Glue
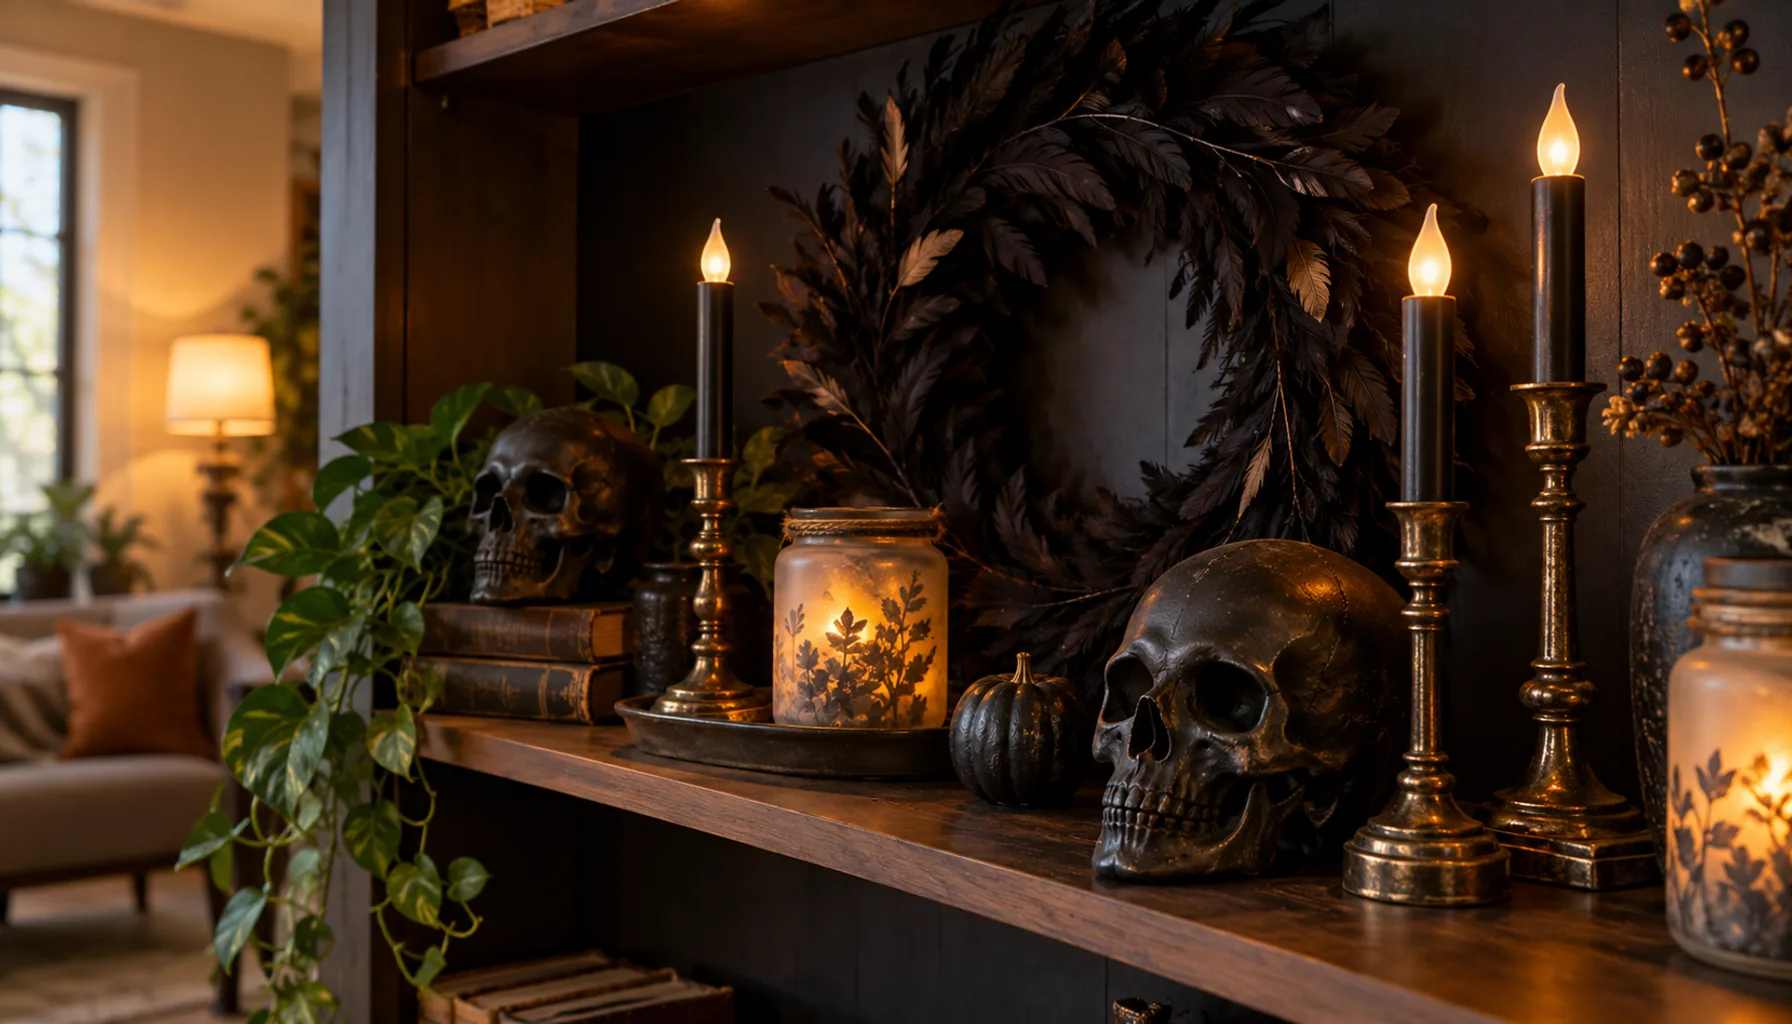
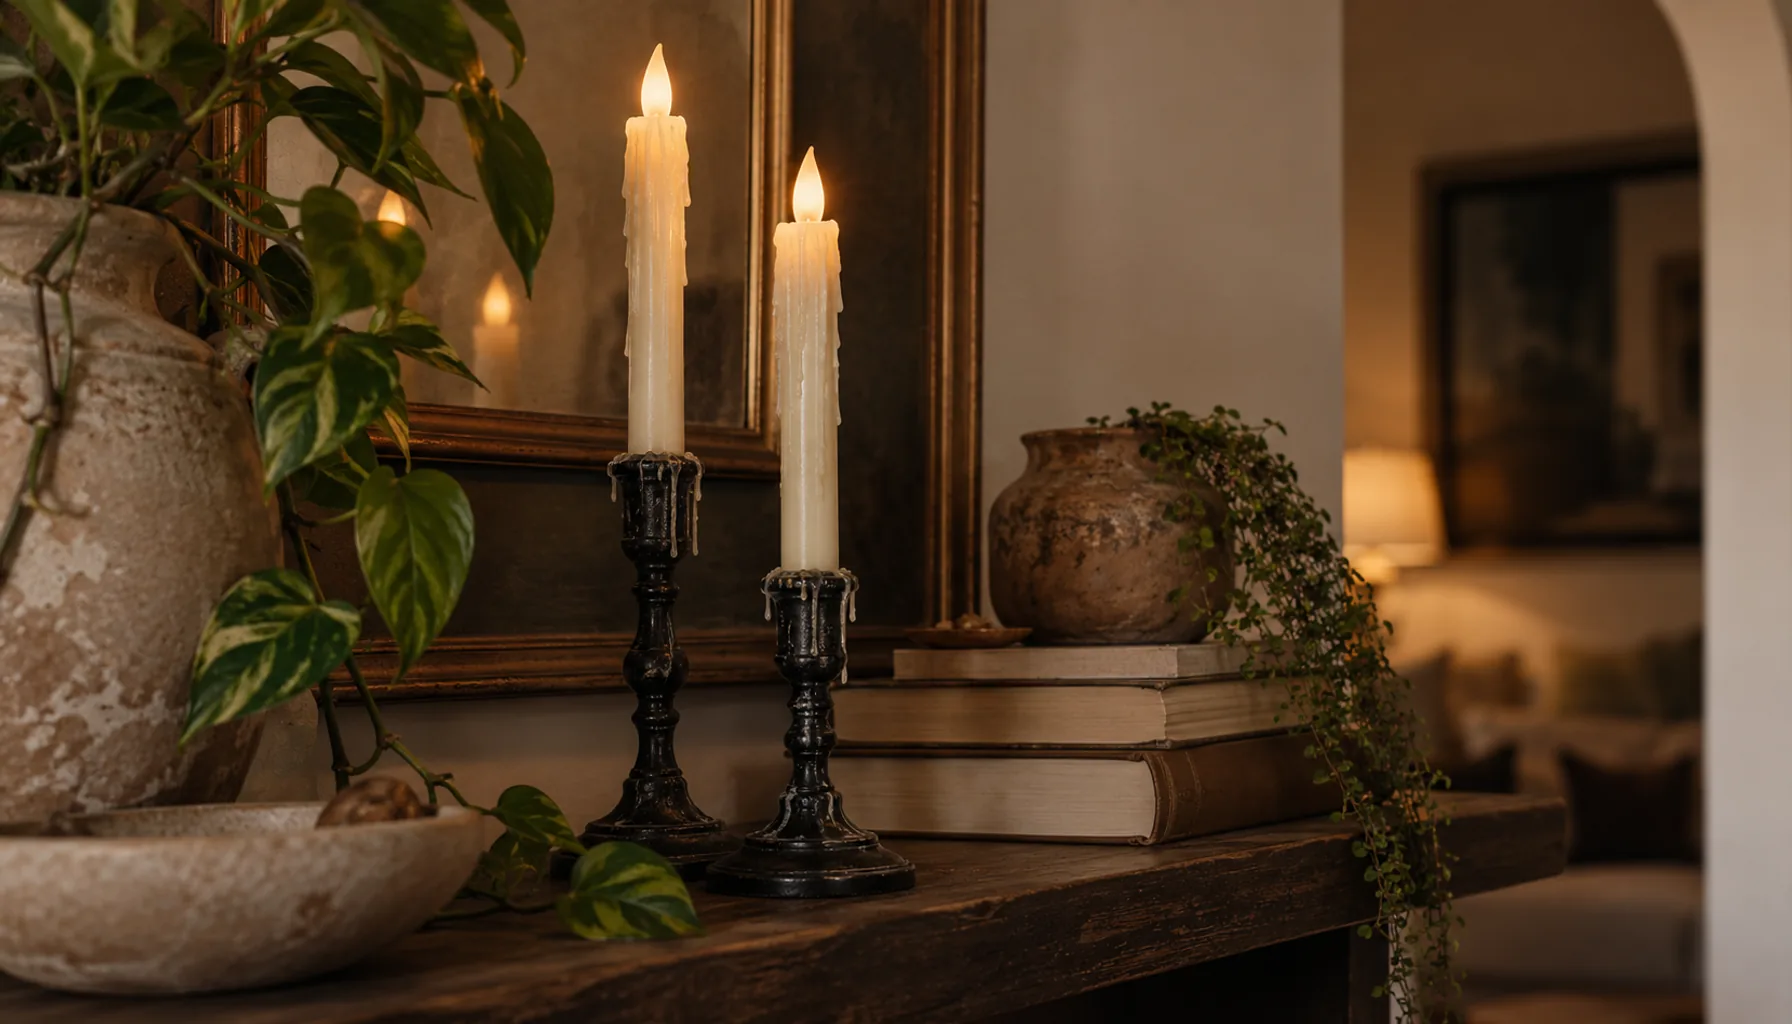
Thrifted candlesticks painted black and edged with hot glue drips look like old church candles that burned down over many years. Paint the candlestick matte black and let it dry. Then run lines of hot glue down from the top, let it harden, and paint over the drips in black or ivory.
Pair the candlesticks with LED taper candles, not real ones. Pick sets of different heights from a thrift store, and our post on thrift store furniture worth flipping has good advice for spotting pieces that clean up well. Keep the hot glue gun away from children, since the nozzle and melted glue are both very hot.
Idea 6: Weave a Spiderweb on an Embroidery Hoop
A hoop with a web of black yarn looks like a dreamcatcher gone wrong. Use a wooden embroidery hoop, and tie yarn across it in a star pattern from one side to the other. Then weave a spiral from the center outward, looping over each spoke as you go.
Hang it on a wall or on the back of a door. Add a small plastic or pipe-cleaner spider on one thread. The web is an easy way to practice a simple weave, and a single hoop on an empty wall looks like a deliberate art piece instead of a prop.
Idea 7: Frame a Haunted-House Silhouette in Black Cardstock
Cut a haunted house, with a crooked roofline, a tower, and a few windows, from black cardstock. Mount it on a pale background such as a vintage book page or cream paper, and slide it into a thrifted frame.
Because it's simple black on pale paper, it looks like a printed piece of artwork rather than a craft. A group of three small frames on a shelf or in a hallway looks strongest. If you're building a wall arrangement, our gallery wall guide explains spacing and alignment.
Idea 8: Tea-Stain Paper for Aged Spell Pages
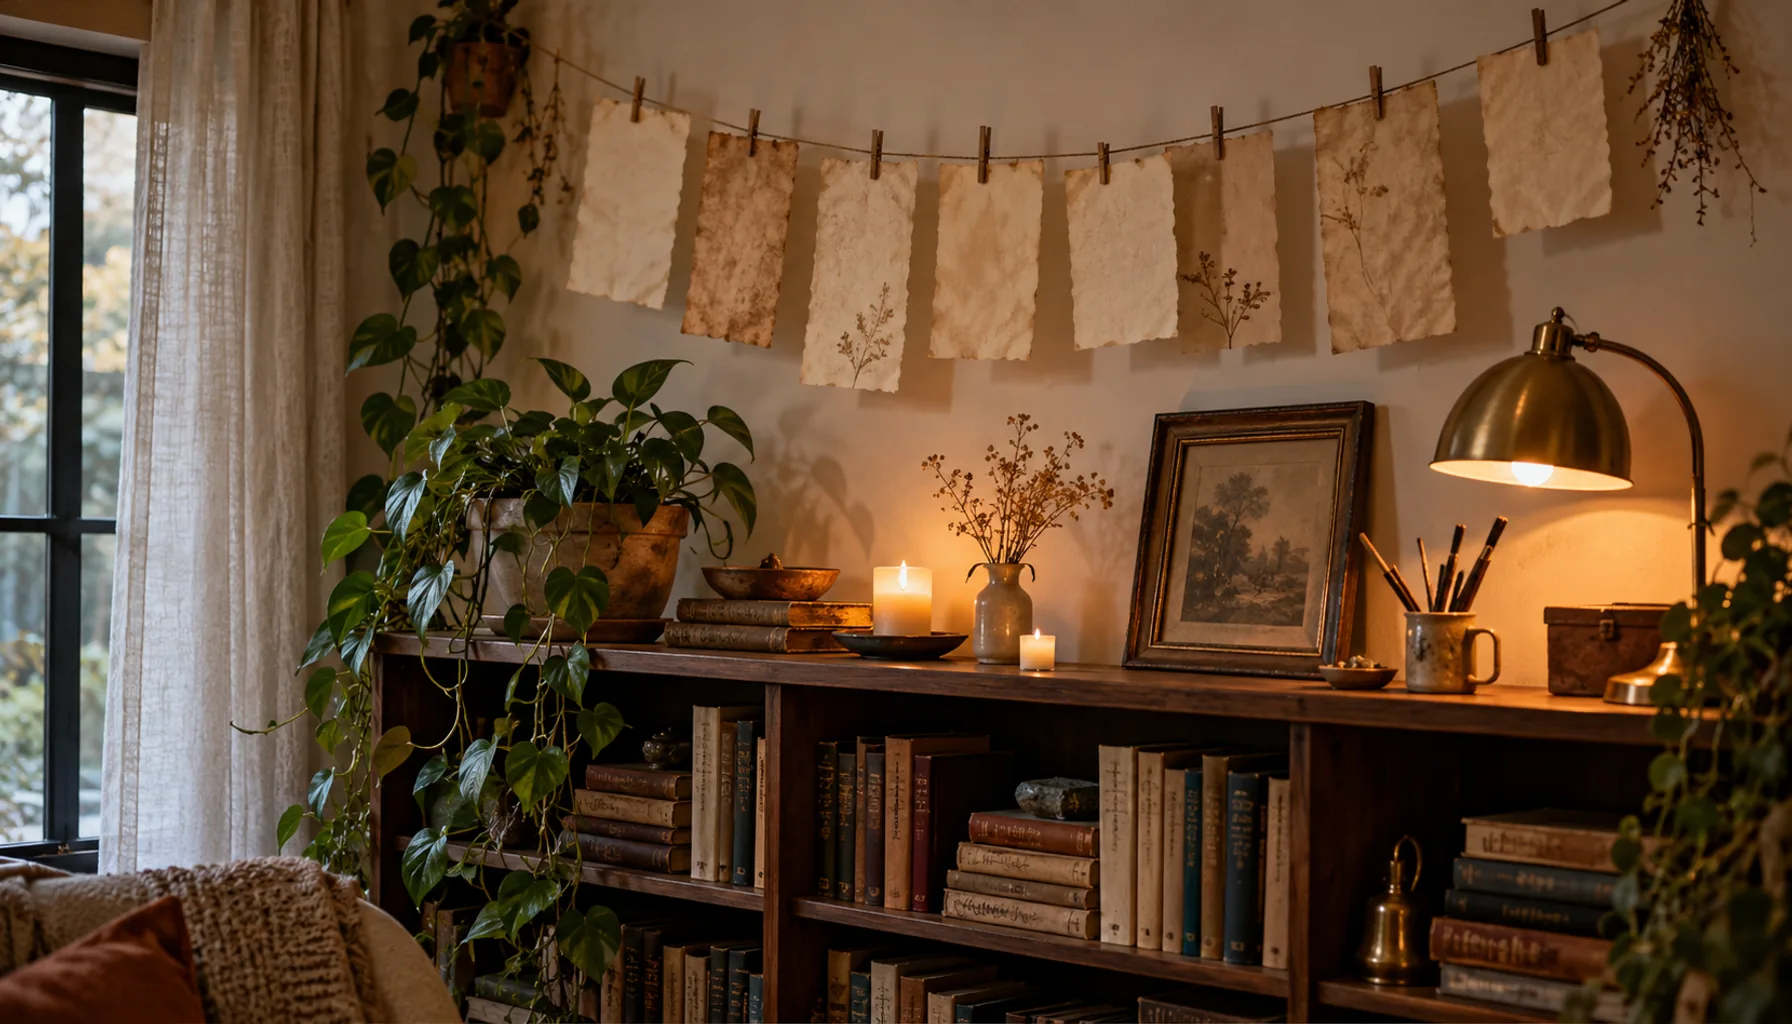
Brew strong black tea, let it cool, and brush or dab it onto plain paper until it looks yellowed and uneven. Let it dry flat, then tear the edges. You can write short phrases in a fine marker, or leave the pages blank for an aged look.
Hang the pages from a string with clothespins, or tuck them into a frame or an open book on a shelf. Make sure the paper is fully dry before you use it near any heat or light.
Idea 9: Hide Glowing Eyes in a Hedge or Shelf
Cut two eye shapes into a cardboard tube, such as a paper towel roll, and wrap the back with black tape. Place an LED tea light inside the tube, standing it upright, so the light shines through the eye holes.
Tuck the tubes into a bush, between potted plants, or onto the dark shelf of a bookcase. Odd numbers and different heights look best, and the light is only visible after dark. For outdoors, use tubes in a spot that stays dry, because cardboard softens in rain.
Idea 10: Sew-Free Pennant Banner From Scrap Fabric
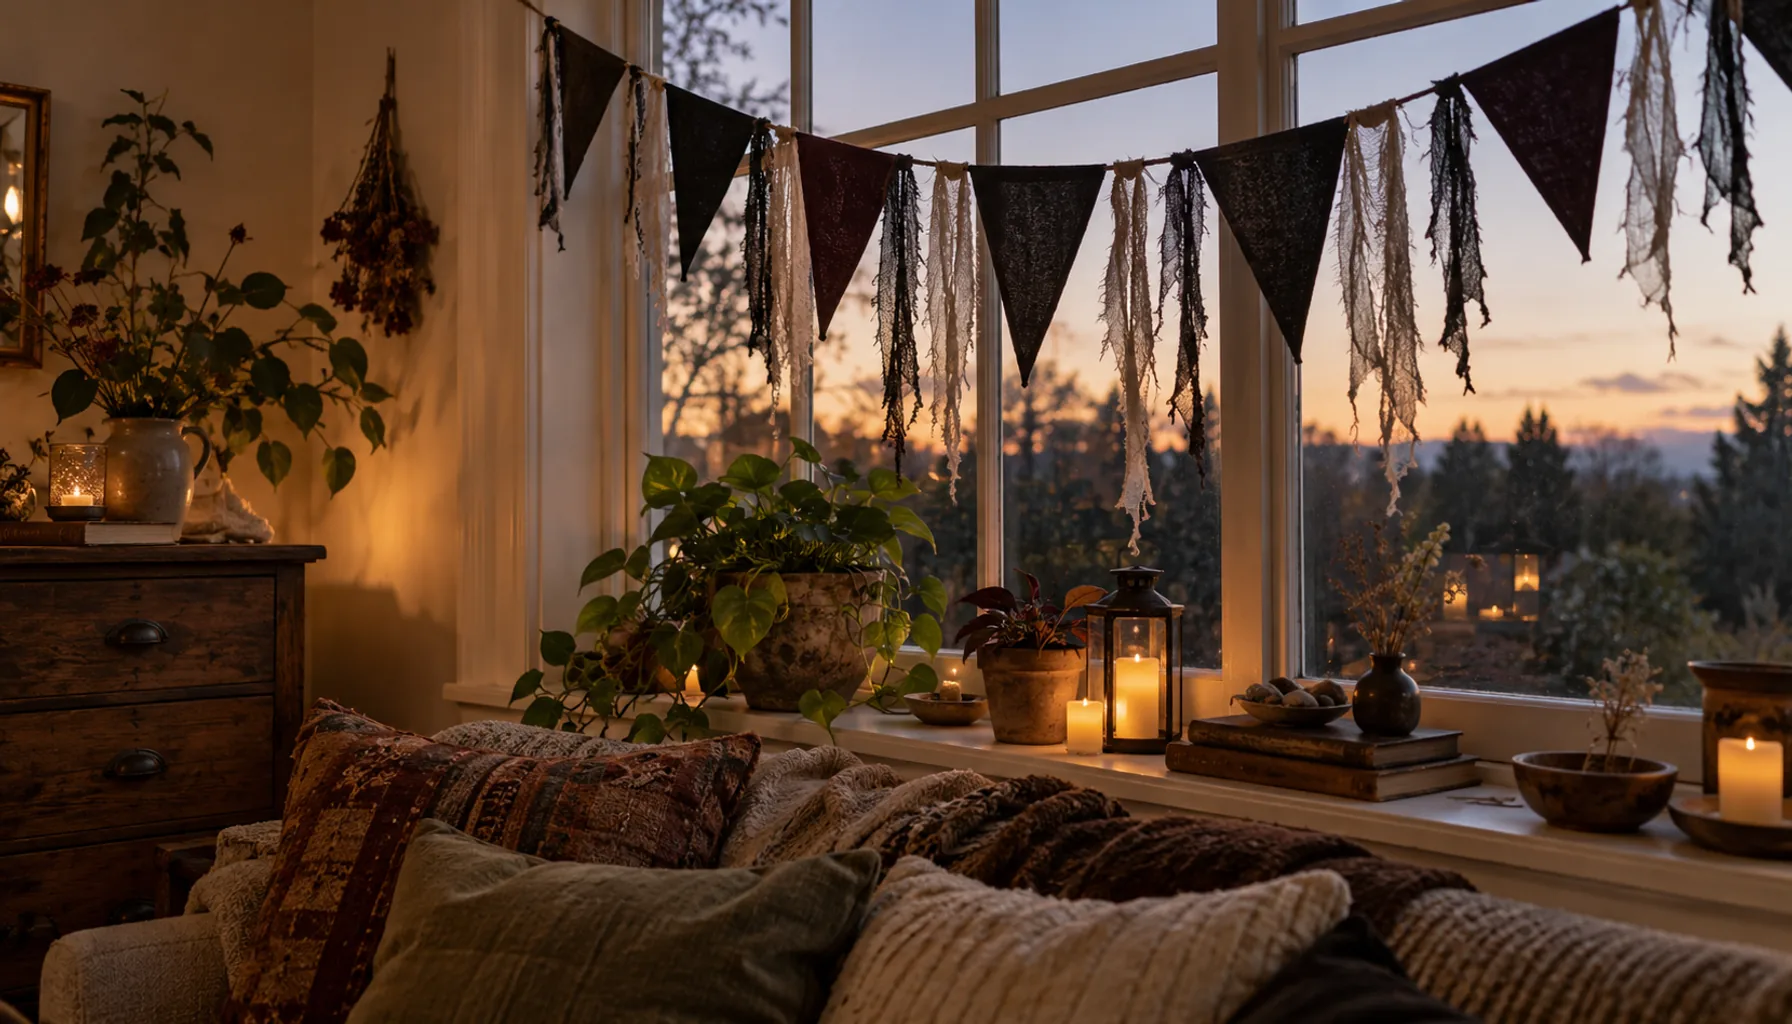
Cut triangles from black, gray, and dark plum fabric scraps. A pinking shear stops the edges from fraying, so you don't need to hem them. Glue or staple each triangle to a length of twine, then add a few torn cheesecloth strips for texture.
The no-sew method is explained in more detail in our post on no-sew fabric projects for beginners. Hang the banner across a window, over a bed headboard, or along a shelf. Fabric you already own, like old T-shirts, works perfectly.
Idea 11: Twist Pipe-Cleaner Spiders
Take four black pipe cleaners, twist them together at the center, and bend each of the eight ends into a leg with a bent knee. Add a bead or a pom-pom for the body.
Make ten or twelve, and vary the sizes. They're good for crawling up a curtain, across a mantel, or around a vase. They also make an easy project to do with kids, since there is no heat and no sharp tool. Attach them to fabric with a dot of glue rather than pins, so you won't damage anything.
Idea 12: Hang a Hoop of "Floating" Candles
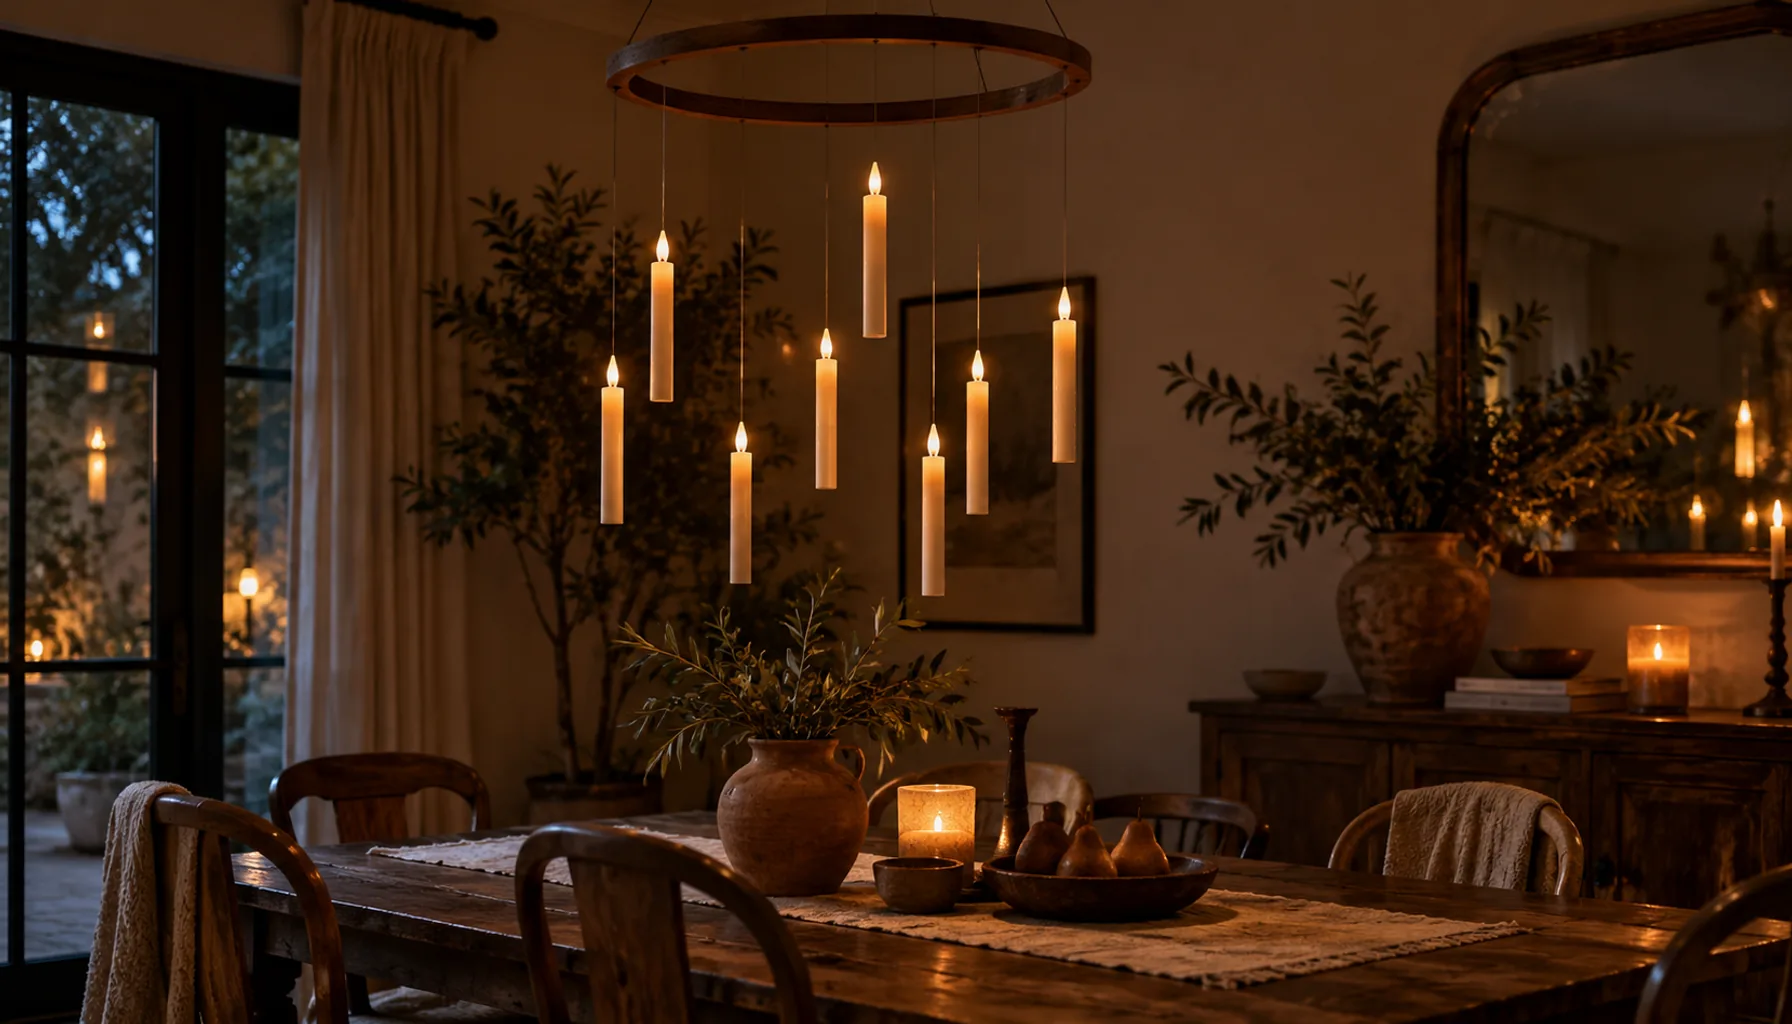
Suspend LED taper candles at different heights from a hoop or a branch, using clear fishing line, so they appear to float. The effect is dramatic over a dining table or in a corner of a living room.
Tie the line carefully to each candle, in different lengths, and hang the hoop from a ceiling hook rated for the weight. Use only flameless candles, and keep the hoop clear of ceiling fans. If you rent, check how your landlord feels about ceiling hooks first, or hang the hoop from an existing fixture hook.
Idea 13: Build a Black Branch Centerpiece
Cut or collect bare branches, spray them matte black outdoors, and let them dry completely. Place them in a tall vase or jar, and wedge them with rocks so they don't tip.
Hang a few paper bats or tea-stained paper tags from the branches on thread. The centerpiece looks sculptural in a dining room, on a console, or on a sideboard. Our guide to styling a console table is a useful reference for sizing a centerpiece to the surface it sits on.
Common Mistakes to Avoid
- Skipping dry time. Glue, paint, and stiffener all need to dry fully, or pieces sag, stick, or smudge.
- Using real candles near paper or cloth. LED candles give a similar glow without the risk.
- Making everything the same size. Vary the sizes of bats, spiders, and pumpkins so they look natural.
- Using craft glue where hot glue is needed, and the reverse. Hot glue holds heavy pieces, while white glue works better on paper and tissue.
- Spray painting indoors. The fumes build up fast, so paint outside and let pieces cure before bringing them in.
Expert Tips for Pulling the Look Together
Repeat one material across the house. If you use black cardstock for the bats, use it for the window silhouettes and the framed house too. That repetition ties separate projects into one look.
Check each piece in the room's evening light before you settle on where it goes. A luminary or a ghost that looks flat at noon often looks right after dark, and you can fix a weak spot while the glue is still tacky. And if you're deciding whether making or buying is smarter for a specific piece, our DIY versus new guide is a helpful checkpoint.
Frequently Asked Questions
What are the easiest DIY Halloween decorations for beginners?
Paper bat garlands, painted pumpkins, pipe-cleaner spiders, and tissue-paper luminaries are the easiest. They need basic tools like scissors, glue, and paint, they're hard to ruin, and they look fine even if the edges are rough. Start with one or two and add more later.
How can I make Halloween decorations on a budget?
Use what you already have: old jars, T-shirts, cardboard tubes, newspaper, and candlesticks from a thrift store. Black paper and twine cost very little and cover many projects. Avoid buying a new craft kit for each idea, since you can reuse the same few supplies across several.
Are DIY Halloween decorations safe around candles?
Only if you use flameless candles. Paper, tissue, cheesecloth, and fabric can all ignite from a real flame. LED tea lights and tapers give the same warm glow and are much safer, especially around children and pets.
What paint works best on pumpkins?
Matte craft paint or spray paint works well. Wipe the pumpkin dry first, and apply thin coats so the paint doesn't run on the curved surface. Let each coat dry before the next one. Foam pumpkins take paint more evenly than real ones, but both work.
How long do homemade Halloween decorations last?
Paper and cardstock pieces last as long as you keep them dry and flat, so they can often be reused the next year. Stiffened cheesecloth ghosts and painted candlesticks also store well. Real pumpkins, tea-stained pages in damp spots, and cardboard outdoors are the shortest-lived.
How do I store Halloween decorations to reuse them?
Let everything dry completely, then lay flat items like bats and silhouettes between sheets of paper in a flat box. Wrap ghosts and glass in tissue. Label the box by room. Our seasonal home reset checklist shows how to put decor away without losing track of it.
Where to Start Tonight
Pick the three projects that suit your space best. A painted pumpkin trio, a bat garland, and a set of tissue-paper luminaries can all be done in a single evening, and together they give a mantel or entry a clear look.
Do the pieces that need drying time first, such as the pumpkins and the jars. Then fill the drying time with the paper projects. By the time the paint is dry, you'll have a finished set ready to light.
One useful home email a month
Real ideas to make your home work better. No spam, easy unsubscribe.